
Lighting can make or break a photograph, and for outdoor photographers, natural light is their most accessible tool. It transforms landscapes, highlights details, and creates atmosphere in ways that artificial light often cannot replicate. Whether you’re dabbling with a new camera, exploring photography courses in Delhi, or trying to capture your morning trek, mastering natural light is critical to taking your outdoor shots to the next level.
This guide is tailored for beginners, breaking down the intricacies of working with natural light and how to make it work for your photos. From understanding the golden hour to handling midday sun, we’ll cover everything you need to know about harnessing the best light for your photography.
Understanding Natural Light
To master natural light, you need first to understand its various forms and characteristics. Each lighting condition offers unique opportunities, challenges, and creative potential.
Types of Natural Light
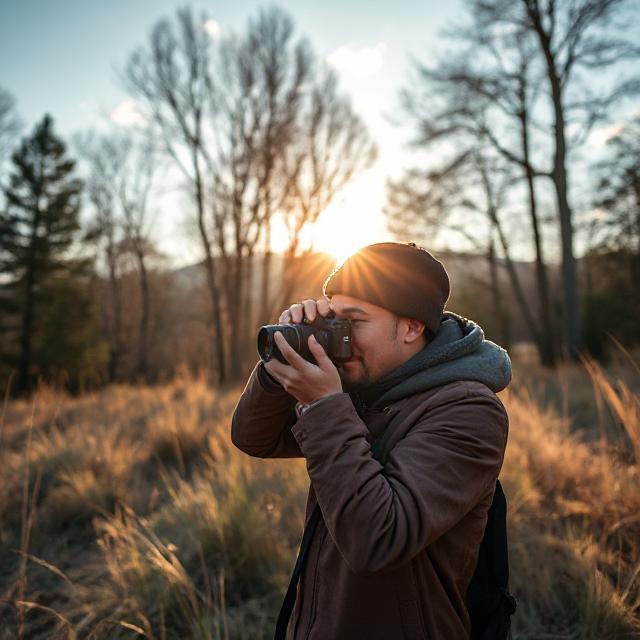
Golden Hour
Golden hour occurs during the first hour after sunrise and the last hour before sunset. This light is soft, warm, and diffused, creating a magical quality perfect for capturing portraits, landscapes, or even city scenes.
Blue Hour
Blue hour refers to the twilight period before sunrise and after sunset when the sunlight is diffused, giving everything a cooler, bluish hue. It works beautifully for creative, moody, or dramatic shots.
Midday Sun
While the sun is at its peak midday, its harsh and direct light can create hard shadows and high-contrast scenes. Though challenging, photographing under the midday sun with the correct techniques can yield striking and vibrant results.
Overcast Light
Cloudy skies provide soft, even lighting without harsh shadows. Perfect for portraits and product photography, overcast light is versatile and easy to work with, offering consistent exposure.
Best Times for Shooting
Timing is everything in outdoor photography. Successful photographers plan their sessions strategically around the natural light available.
Shooting During the Golden Hour
Golden hour is often described as the ‘magic hour’ for photographers due to its flattering qualities. To make the most of it:
- Use an app like “Golden Hour One” or “PhotoPills” to track sunrise and sunset in your area.
- Position yourself so the light gently illuminates your subject to create a warm, natural glow.
- Experiment with backlighting to create soft halos around your subjects.
Capturing the Beauty of Blue Hour
Blue hour sessions require planning and creative execution.
- Tripods are essential for stability during this low-light period.
- Slow your shutter speed to allow more light into the frame while maintaining sharpness.
- Use the cool tones of a blue hour to your advantage in urban settings with vibrant city lights.
Dealing with Midday Sun
Photographing under the harsh midday sun is one of the biggest challenges for beginners. However, with intentional techniques, you can achieve striking results.
Tips for Managing Harsh Light
- Use Reflectors: Bounce light back onto your subject for a softer, more controlled effect.
- Find Shade: Position your subject under a tree, awning, or other shaded areas for more even lighting.
- Diffusers: Use a diffuser to soften the sunlight on your subject. Even a translucent umbrella can help diffuse light.
- Adjust Angles: Shoot at an angle to avoid harsh shadows on faces or other details.
Utilizing Overcast Conditions
Cloudy weather isn’t a drawback for outdoor photographers; it’s actually an ally. The absence of harsh sunlight ensures soft and diffused lighting that’s easy to work with.
Making the Most of Overcast Days
- Boost Colours: On cloudy days, colors appear more vibrant. Take advantage of this for striking landscapes or portrait shots.
- Add Contrast in Post-Processing: Since overcast light can appear flat, use editing tools to add contrast back into your images.
- Shoot Portraits: With soft lighting that minimizes hard shadows, overcast skies are perfect for flattering portraits.
Essential Gear for Natural Light Photography
While your camera and creativity play the central role, having the right gear can dramatically improve your experience and results.
Recommended Equipment
- Reflectors: Ideal for redirecting or diffusing light.
- Diffusers: Help soften harsh light, especially in midday sun.
- Tripod: Stabilises your camera for long exposure shots during low-light periods like blue hour.
- Lens Hood: Minimises lens flare and protects your lens during intense sunlight.
Composition Tips When Working with Light
The way light interacts with a scene significantly impacts its composition. Use these tips to create visually compelling images.
Leverage Shadows and Highlights
- Use shadows to create depth and dimension in your photographs.
- Play with highlights to guide the viewer’s eye to the subject or main focal point.
Shoot with Backlighting
Backlighting occurs when the primary light source is behind your subject.
- For stunning silhouettes, meter for the lighter background.
- Use backlight to create a dreamy, halo-like effect around your subject’s edges.
Experiment with Angles
Move around your subject and adjust angles to explore how the light interacts with the scene. Shooting from higher, lower, or side angles often adds creative flair.
Practical Exercises
If you’re ready to start putting these tips into practice, here are a few easy exercises to get you started with natural light photography.
Morning Walk Challenge
Take your camera on a morning walk and capture scenes during golden hour. Try shooting both with and against the light to see how it affects your photos.
Overcast Portrait Practice
Use a cloudy day to practice creative portrait photography. Play with composition and experiment with different depths of field.
Light and Shadow Study
On a sunny day, capture a series of images focusing entirely on shadows and highlights to observe how light interacts with surfaces.
Post-Processing for Natural Light Photography
Editing is integral to bringing out the best in your natural light photos. While learning fancy techniques can come later, start with these basics.
Simple Adjustments to Enhance Lighting
- Exposure: Adjust to brighten your image while maintaining details.
- Contrast: Add subtle contrast to make your elements pop.
- White Balance: Correct the colors to suit the natural tone of the light.
Recommended Software
- Adobe Lightroom (user-friendly and packed with features)
- Snapseed (a free, beginner-friendly mobile app)
Light is Your Best Assistant
Mastering natural light allows you to become a more skilled and intuitive photographer. It teaches you to plan, observe, and improvise, all of which are invaluable traits for capturing stunning images.
If you want to take your skills further, consider enrolling in a photography course. Learn the ropes from industry experts or explore photography courses in Delhi for local insight.
Now, grab your camera, step outdoors, and start experimenting with the beautiful, natural light around you.