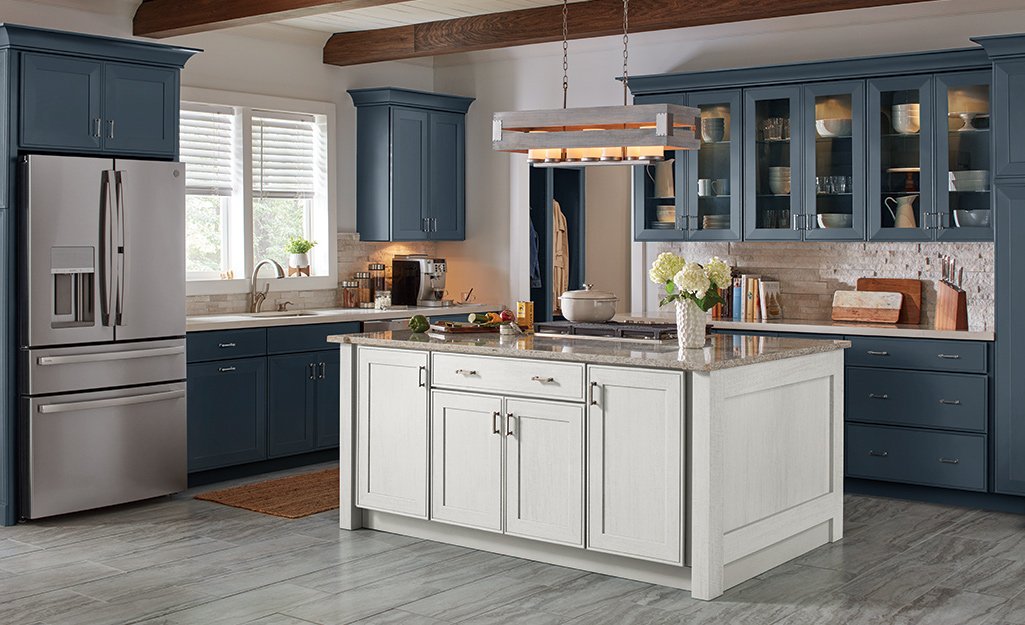
A kitchen remodel is one of the most rewarding home improvement projects, enhancing both the functionality and aesthetics of your space. However, it requires careful planning and execution to achieve the desired results. Whether you’re upgrading outdated features, increasing storage, or designing a dream kitchen, understanding the key steps involved in a kitchen remodel can help ensure a smooth and successful transformation.
Step 1: Define Your Goals and Budget
Before diving into a kitchen remodel, it’s essential to clearly define your objectives. Ask yourself:
- What do I want to achieve with this remodel?
- Am I focusing on aesthetics, functionality, or both?
- What is my budget for this project?
Setting a budget early on helps guide your decisions on materials, appliances, and labor costs. Researching average kitchen remodeling costs in your area can provide a realistic estimate.
Step 2: Plan Your Kitchen Layout
Your kitchen layout is the backbone of your remodel. The right design should improve efficiency and enhance workflow. Some popular kitchen layouts include:
- Galley Kitchen – A narrow, two-wall layout ideal for small spaces.
- L-Shaped Kitchen – Provides ample counter space and an open feel.
- U-Shaped Kitchen – Offers more storage and counter space.
- Open Concept Kitchen – Integrates with the living area for a spacious, modern feel.
Consider the “work triangle” principle (the optimal placement of the sink, stove, and refrigerator) to maximize efficiency.
Step 3: Hire a Kitchen Remodeling Expert
A professional kitchen remodeler can help bring your vision to life. When hiring a contractor, consider:
- Experience and portfolio of past projects
- Licenses, certifications, and insurance
- Client reviews and testimonials
- Cost estimates and timelines
Working with an expert ensures high-quality craftsmanship and compliance with local building codes.
Step 4: Choose Materials and Finishes
The materials you select will define the look and durability of your kitchen. Key elements to consider include:
- Cabinetry: Custom, semi-custom, or stock cabinets
- Countertops: Granite, quartz, marble, or laminate
- Flooring: Hardwood, tile, vinyl, or concrete
- Backsplash: Subway tiles, mosaic, or glass
- Lighting: Pendant lights, under-cabinet lights, or recessed lighting
Choosing quality materials within your budget will ensure long-lasting beauty and functionality.
Step 5: Obtain Permits and Approvals
Depending on the scope of your remodel, you may need permits for electrical, plumbing, or structural work. Consulting with your contractor and local authorities will ensure compliance with building codes.
Step 6: Demolition and Removal
Once permits are in place, the demolition process begins. This may include:
- Removing old cabinets and countertops
- Taking out outdated appliances
- Tearing up flooring or backsplashes
Proper disposal of debris and waste is crucial to maintaining a clean and safe work environment.
Step 7: Plumbing and Electrical Work
Before new installations, it’s essential to update plumbing and electrical systems. This phase involves:
- Relocating or adding plumbing fixtures
- Upgrading electrical wiring and outlets
- Installing new lighting and appliances
Hiring licensed professionals for this stage ensures safety and adherence to regulations.
Step 8: Install Flooring, Cabinets, and Countertops
Once the foundational work is complete, the installation process begins:
- Flooring: Installed before or after cabinetry, depending on the material used.
- Cabinets: Securely mounted to walls, ensuring proper alignment and stability.
- Countertops: Measured and cut precisely for a perfect fit.
This step significantly transforms the kitchen’s appearance and functionality.
Step 9: Install Backsplash and Fixtures
Adding a backsplash enhances the kitchen’s design while protecting walls from spills. Choose a style that complements your countertops and cabinetry.
Fixtures such as faucets, sinks, and hardware (handles and knobs) are also installed during this phase.
Step 10: Paint and Finishing Touches
A fresh coat of paint can make a significant impact on your kitchen’s look. Consider:
- Neutral shades for a timeless appeal
- Bold colors for a statement-making design
- Water-resistant and washable paint for easy maintenance
Finishing touches, such as crown molding and trim, complete the aesthetic.
Step 11: Install Appliances and Lighting
With most construction work completed, it’s time to install:
- Refrigerators, ovens, dishwashers, and microwaves
- Range hoods and ventilation systems
- Pendant lights, under-cabinet lighting, and ceiling fixtures
Ensuring proper installation will enhance functionality and efficiency.
Step 12: Final Inspections and Cleanup
A final inspection ensures that everything is up to code and functioning properly. Your contractor will:
- Check plumbing and electrical connections
- Ensure cabinetry and fixtures are secure
- Address any last-minute adjustments
Once approved, a thorough cleanup will prepare your kitchen for use.
Step 13: Enjoy Your New Kitchen!
After weeks or months of planning and hard work, your dream kitchen is finally complete! Take the time to:
- Organize your space efficiently
- Add personal touches like décor and accessories
- Enjoy cooking and entertaining in your newly remodeled kitchen
Conclusion
A kitchen remodel is a complex but rewarding project that enhances the beauty, functionality, and value of your home. By following these essential steps, from initial planning to final installation, you can achieve a seamless renovation. Hiring professional kitchen remodeling experts in Portland ensures a high-quality result that meets your expectations.
If you’re considering a kitchen remodel, start by defining your goals, setting a budget, and consulting with experienced professionals. With careful planning and execution, your dream kitchen is within reach!


