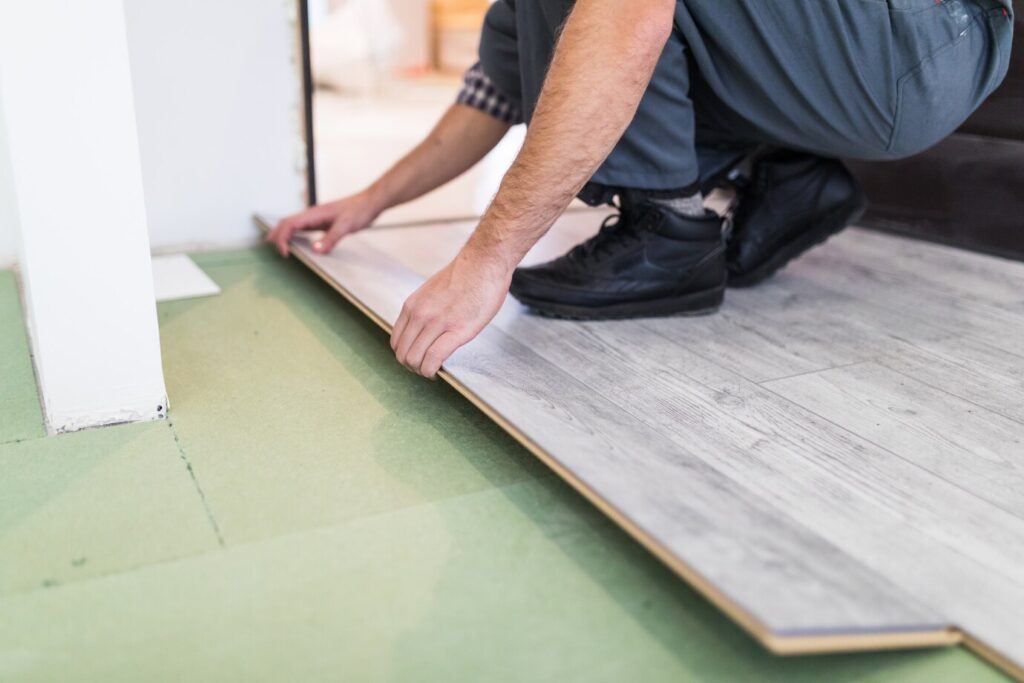
Wood floors are a sophisticated and classic element in any home or business. Yet, with time, foot traffic, spills, and normal wear can dull their original stunning finish. If your floors appear worn but are not badly damaged, wood floor recoating is a great and cost-effective way to bring back their luster without the inconvenience of sanding.
This post will provide all the information you’ll need about wood floor recoating, from its advantages to the process, and some additional tips for the best results.
What Is Wood Floor Recoating?
Wood floor recoating is putting down a fresh layer of protective finish over a present hardwood floor without sanding back to bare wood. In contrast to full refinishing, including sanding and restaining, recoating only refreshes the topcoat while maintaining the wood’s integrity, making it appear better.
Benefits of Wood Floor Recoating
- Budget-Friendly Option
Refinishing and sanding hardwood floors is costly and involves professional wood flooring restoring services, materials, and equipment. Recoating your wood floors costs much less and still freshens up your floors.
- Time-Efficient Procedure
Recoating is much faster than recoating and refinishing, often completed in one to two days, as opposed to a few days for an entire refinishing project.
- Prolongs Floor Life
By introducing a new layer of protection, recoating holds off further damage on deeper levels, thus making the life of your wood floors last longer.
- Retains the Original Appearance
Whereas refinishing would change the appearance of color and texture on the floor, recoating works on its present look without modifying the original design.
- Less Dust and Mess
Compared to refinishing, less sanding is done in recoating, creating minimal dust during the process.
When to Recoat Your Wood Floors?
Not all floors are a candidate for recoating. Evaluating your flooring is important to see if it can use a simple recoat or a complete refinishing. These are some indications that recoating is the way to go:
- The finish is dull or slightly worn but not deeply scratched.
- There are surface-level scuffs but no deep gouges.
- The wood itself is in good shape without extensive water damage or warping.
- You want to refresh the floor without changing its color or texture.
How Often Should You Recoat Wood Floors?
Recoating heavily used areas every 3–5 years will preserve the protective coating and keep floors looking brand new. A recoat every 7–10 years should be acceptable for lesser-used areas.
Step-by-Step Guide to Wood Floor Recoating
Step 1: Clear the Area
Take away all furniture, rugs, and ornaments from the room. Where practicable, shift pets temporarily out of the way to avoid paw marks on the drying finish.
Step 2: Clean the Floor Thoroughly
Dirt, dust, and oils may interfere with the adhesion of the new finish. To prepare the surface:
- Vacuum or sweep the floor.
- Clean the floor with a wood floor cleaner to remove grease and residue.
- Let the floor dry thoroughly before proceeding to the next step.
Step 3: Lightly Abrade the Surface
The floor should be lightly scuffed with a buffer or an abrasive pad to allow the new coat to adhere. This is referred to as “screening.”
- Mount a floor buffer with a 120–150 grit sanding screen.
- Lightly buff the surface to produce a slightly rough texture.
- Vacuum and wipe the dust away with a tack cloth.
Step 4: Select the Correct Finish
There are various finishes to use based on your preference and lifestyle requirements:
- Water-Based Polyurethane: Quick-drying, low odor, and eco-friendly.
- Oil-Based Polyurethane: Leaves a rich, warm sheen but is more odorous and takes longer to dry.
- Wax Finish: Provides a natural, low-sheen finish but is higher maintenance.
- Hardwax Oil: A combination of natural waxes and oils, providing durability with a soft, matte finish.
Step 5: Apply the New Finish
Employ a high-end applicator (e.g., synthetic pad or microfiber roller) to apply a thin, even finish coat.
- Go in the direction of the wood grain to prevent streaks.
- Let the first coat dry (typically 2–4 hours for water-based and 8–24 hours for oil-based).
- If necessary, lightly buff the surface before applying a second coat.
- Allow the final coat to cure for at least 24–48 hours before walking on it and a few days before putting the furniture back.
Maintaining Your Recoated Wood Floors
After your floors are recoated, regular maintenance will ensure they last longer:
- Place Felt Pads on Furniture: This helps prevent scratching when sliding chairs or tables.
- Clean Spills Immediately: Dry liquids can harm the finish.
- Sweep and Mop Frequently: Sweep up dust, then mop with a damp (not wet) mop and wood-safe cleaning solution to maintain clean floors.
- Avoid Harsh Chemicals: Ammonia-based products will dissolve the protective finish.
- Restrict Excessive Traffic In The Beginning: Do not drag heavy furniture or walk in high heels on the floor for a few days after recoating.
Final Thoughts
Wood floor recoating is a great option to renew your hardwood floors without the hassle, expense, or mess of complete refinishing. By going through the proper steps and using quality products, you can help extend the lifespan of your floors and make them look wonderful for years to come. If your floors are fading but not seriously damaged, don’t hesitate to try wood floor recoating today for an easy and effective change!


