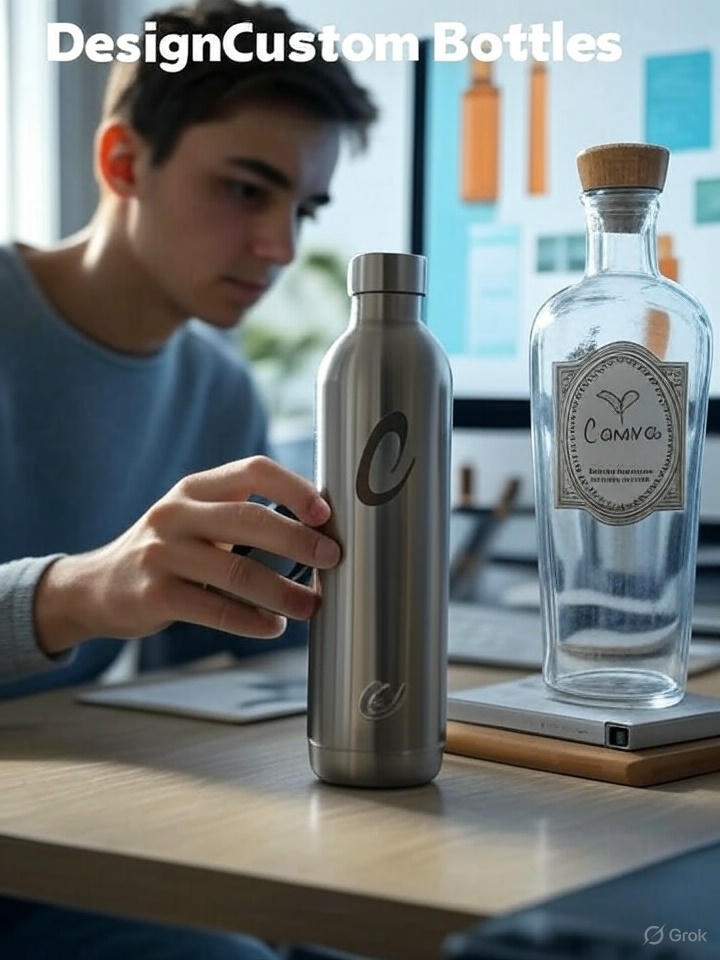

How to Design Custom Bottles
Designing custom bottles for personal use, gifts, or branding is a creative and rewarding process that allows you to craft unique, functional items tailored to specific needs or aesthetics. Whether you’re creating a reusable water bottle for personal use, a memorable wedding favor, or a branded product for a business, the process involves careful planning, material selection, and design execution. Below is a step-by-step guide to designing custom bottles, enriched with insights, a comparison table, and tips for cost-effective methods and creative ideas to make your bottles stand out. This guide will help you navigate the exciting world of custom bottle design.
Step 1: Define the Purpose and Audience
Clarify the bottle’s purpose (personal use, gifts, or branding) and audience to guide material and design choices. Research trends on Pinterest or Instagram for inspiration.
“A well-designed bottle isn’t just a container—it’s a statement of identity and purpose,” says Sarah Thompson, a product designer specializing in sustainable goods.
Step 2: Choose the Right Materials
- Stainless Steel: Durable, keeps drinks hot/cold, ideal for branding.
- Glass: Elegant, eco-friendly, great for gifts but fragile.
- Plastic (BPA-Free): Lightweight, cost-effective for events.
- Aluminum: Budget-friendly, recyclable alternative.
Tip: Source from wholesalers like Alibaba for bulk savings.
Creative Idea: Use glass with bamboo caps for an eco-friendly look.
Step 3: Select Design Software or Tools
- Canva: Free, beginner-friendly with templates.
- Adobe Illustrator: Professional for complex designs.
- Figma: Free, collaborative for teams.
- Online Customizers: Quick tools from Zazzle or Vistaprint.
“The right design tool empowers anyone to create professional results, no matter their experience,” notes graphic designer Mark Rivera.
Tip: Hire freelancers on Fiverr for affordable designs.
Step 4: Incorporate Names, Logos, or Designs
- Names: Use elegant fonts for gifts.
- Logos: High-resolution, centered for branding.
- Patterns: Simple designs like florals or geometrics.
Creative Idea: Add QR codes for event or brand engagement.
Step 5: Choose Finishing Techniques
Compare techniques to choose the best fit:
| Technique | Cost | Durability | Best For | Pros | Cons |
|---|---|---|---|---|---|
| Screen Printing | Low | Moderate | Bulk orders, simple designs | Affordable, vibrant colors | May fade with frequent use |
| UV Printing | High | High | Complex, colorful designs | Vibrant, durable on glass/steel | Expensive for small batches |
| Laser Engraving | Moderate-High | Very High | Names, logos on steel/glass | Permanent, premium look | Limited to single-color designs |
| Vinyl Decals | Very Low | Low | Events, short-term use | Budget-friendly, easy to apply | Less durable, may peel |
“Engraving adds a timeless elegance that printing can’t match,” says custom product manufacturer Emily Chen.
Tip: Screen printing for large orders, decals for small batches.
Step 6: Prototype and Test
Order a sample to check design accuracy and durability. Adjust as needed.
Step 7: Source a Manufacturer
Use Alibaba, Made-in-China, or local shops. Compare quotes and reviews.
Tip: Print-on-demand services like Printful for small runs.
Step 8: Market or Gift Your Bottles
- Packaging: Eco-friendly boxes for appeal.
- Photography: High-quality images for online sales.
- Storytelling: Highlight eco-friendly or personal aspects.
“A bottle’s story—its purpose and design—connects emotionally with customers,” says marketing expert Laura Kim.
Creative Ideas
- Themed Collections: Adventure or wedding designs.
- Interactive Elements: Color-changing coatings.
- Limited Editions: Exclusive designs for urgency.
Cost-Effective Strategies
- Bulk ordering reduces costs.
- Minimalist designs lower printing expenses.
- DIY vinyl decals for small projects.