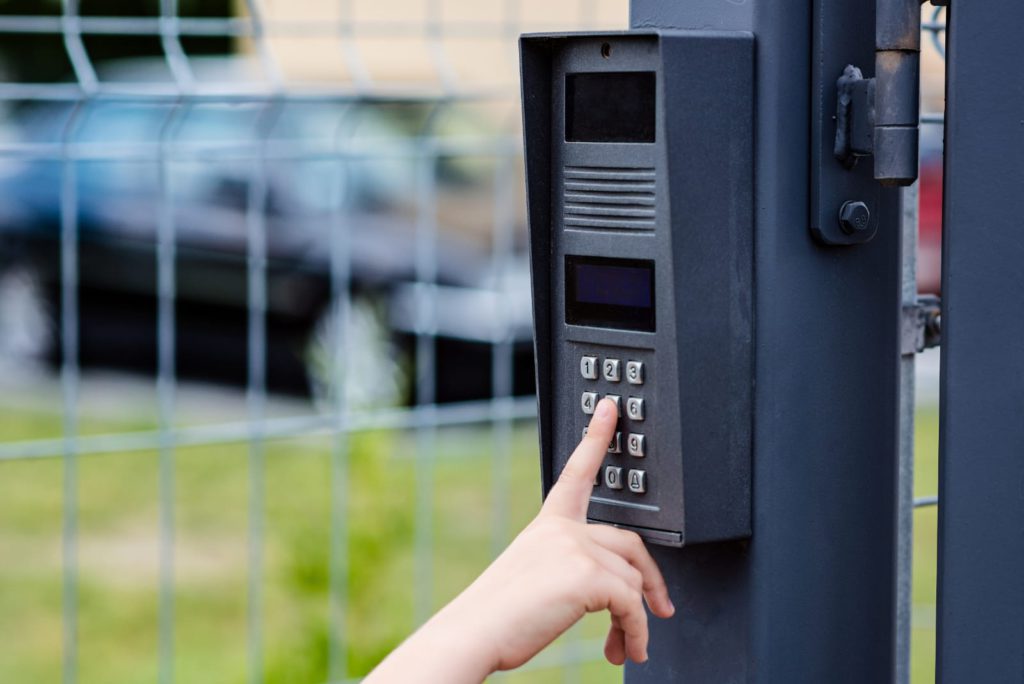
The importance of an intercom system in both residential and commercial buildings cannot be overstated. It allows for smooth communication across rooms or floors, enhances security by enabling easy monitoring of visitors, and facilitates better coordination. However, intercom system installation is a process that requires careful planning, attention to detail, and professional handling. Making mistakes during the installation process can not only compromise the system’s performance but also lead to increased costs and unnecessary delays.
Whether you’re upgrading an existing system or installing a new one, understanding the common mistakes to avoid during intercom system installation can help ensure the system works efficiently, delivers clear audio and video, and meets your security needs.
In this article, we’ll explore the most common mistakes people make when installing an intercom system and provide tips on how to avoid them for a smoother, more effective installation.
1. Choosing the Wrong System for Your Needs
One of the most common mistakes during intercom system installation is selecting a system that does not match the specific needs of your property. With so many intercom systems available in the market—ranging from simple audio-only devices to advanced video intercom systems—it’s crucial to understand your requirements before making a purchase.
Some factors to consider when choosing the right intercom system include:
- Size of the Property: A large office or commercial building may need a more robust system with multiple units, whereas a small apartment or house might only require a basic unit.
- Type of Communication: If you need video communication, you will need to opt for a video intercom system. If audio-only communication is sufficient, a simpler audio intercom system will work.
- Integration with Other Security Systems: If you plan to integrate the intercom with other security systems like surveillance cameras, access control, or alarms, ensure the system is compatible with these features.
Choosing the wrong system can result in a lack of functionality, poor performance, and a waste of time and money during the intercom system installation.
2. Improper Placement of Intercom Units
The placement of intercom units is a critical factor in ensuring the system functions effectively. Poorly placed units can lead to weak signal strength, unclear communication, and even equipment malfunctions.
When planning the intercom system installation intercomrepairny.com, keep the following placement tips in mind:
- Centralized Locations: Install intercom units in centralized locations so that they are easily accessible from various areas of the building. In large properties, consider placing multiple intercom units to ensure full coverage.
- Avoiding Obstacles: Avoid placing units near large metal objects, electrical equipment, or thick walls, as these can interfere with the signal. Make sure the units are positioned in areas where the audio and video can be clearly transmitted.
- Ergonomics: The intercom should be placed at a comfortable height for users. If you’re installing video intercom units, ensure they are at eye level for optimal visual communication.
- Power Access: Ensure that intercom units are installed near power outlets or ensure that wiring can be routed safely and efficiently to power the devices.
3. Overlooking Power and Wiring Requirements
A common mistake during intercom system installation is neglecting the power and wiring requirements of the system. Electrical issues or improper wiring can lead to malfunctions, power loss, or even damage to the system.
Here’s what to keep in mind:
- Power Supply: Make sure the power supply meets the system’s requirements. If you’re installing a video intercom system, it may require more power than an audio-only system, so plan accordingly.
- Wiring Quality: Use high-quality cables and connectors for your wiring. Cheap wiring can lead to signal interference or degradation of audio and video quality. It’s also important to ensure the wiring is appropriately shielded to avoid signal interference from other electrical devices.
- Proper Grounding: Ensure that all wiring is properly grounded to prevent electrical surges or short circuits, which can damage the system.
Before beginning the intercom system installation intercomrepairny.com, double-check all power requirements and ensure that the wiring is installed according to the manufacturer’s instructions and local electrical codes.
4. Ignoring Compatibility with Other Systems
Many property owners fail to consider how their new intercom system will integrate with other existing systems such as security cameras, access control systems, or alarm systems. Compatibility issues can render features like remote unlocking or video monitoring ineffective, reducing the intercom system’s overall functionality.
To avoid this mistake:
- Check for Integration Options: Ensure that your intercom system has the necessary integration features. For instance, if you want to unlock doors remotely, make sure the intercom system is compatible with your smart locks or access control systems.
- Network and Wi-Fi Compatibility: If the system is IP-based or uses Wi-Fi, ensure your network can support the system’s bandwidth requirements. A slow or unstable network can cause delays in communication or poor video quality.
- Future-Proofing: If you plan to upgrade your security or automation systems in the future, consider choosing an intercom system that can easily integrate with other technologies like smart home systems or cloud-based services.
5. Inadequate Testing Before Final Installation
After completing the physical installation of the intercom system, many individuals neglect to perform thorough testing before finalizing the setup. Testing is crucial to ensure that all components of the system are working correctly and that any issues are addressed before the system goes live.
Testing should include:
- Audio Quality: Ensure that the intercom system produces clear, high-quality audio without distortion or static. If you’re using a video intercom system, check the video resolution and clarity as well.
- Signal Strength: Test the signal strength at various locations within the building to ensure that the system works everywhere it’s needed. Weak signals can result in missed communication or dropped calls.
- Functional Features: Test all features of the intercom system, such as remote unlocking, video surveillance, or integration with other systems. Make sure each feature works as intended before the system is fully activated.
Thorough testing ensures that the intercom system installation is successful and ready to be used without issues.
6. Improper Mounting of Units
Another common mistake during intercom system installation is improperly mounting the intercom units. If units are not securely mounted, they can become loose, unstable, or prone to damage over time.
To avoid this:
- Follow Manufacturer Guidelines: Follow the manufacturer’s instructions for mounting intercom units. Most systems provide specific guidelines on where and how to install units to ensure their durability and functionality.
- Use Proper Mounting Hardware: Use the correct screws, anchors, or brackets that are designed for the surface material (e.g., drywall, concrete, wood). Improper mounting hardware can lead to loose or unstable installations.
- Double-Check Unit Placement: Ensure the unit is level and aligned properly during installation. Units that are off-center or tilted may cause issues with operation or create a poor user experience.
7. Neglecting to Update or Configure Software and Firmware
Many modern intercom systems rely on software and firmware to manage settings, update features, and improve security. Neglecting to update or configure the system’s software can result in security vulnerabilities or missed features.


