
Maintaining healthy nails is not just about trimming and filing. A key part of nail care involves managing the cuticles, the thin layer of skin that protects the base of your nails. For at-home manicures, a cuticle pusher cutter can be an essential tool to keep your cuticles neat and healthy. However, using this tool incorrectly can lead to damage or infections. To achieve salon-quality results safely, it’s important to follow best practices when using a cuticle cutter at home.
Why Proper Cuticle Care Matters
Cuticles serve an important purpose in protecting the nail bed from bacteria and other harmful substances. That’s where a Cuticle Pusher Cutter comes in. This versatile tool helps to push back the cuticles, creating a clean nail surface and can be used to trim away any excess skin that could be prone to splitting or tearing.
Proper cuticle care not only enhances the appearance of your nails but also helps to prevent painful conditions that arise from neglected or improperly trimmed cuticles. By using a cuticle pusher, you can maintain the health and beauty of your nails between professional manicures or as part of your regular at-home grooming routine.
How to Prepare Your Nails for Using a Cuticle Pusher Cutter
Before you start using a cuticle pusher, it’s essential to prepare your nails and cuticles properly. The first step is to soften the cuticles, as pushing or cutting dry cuticles can lead to tearing or irritation. This softens the cuticles and makes them easier to push back. Alternatively, you can use a cuticle oil or cream to hydrate and soften the skin around the nails.
Once your cuticles are soft, gently dry your hands, making sure there is no excess moisture left. This step is important because it reduces the risk of slipping or over-cutting when using the cuticle cutter. With your nails prepped and ready, you can move on to using the tool itself.
Best Practices for Using a Cuticle Pusher
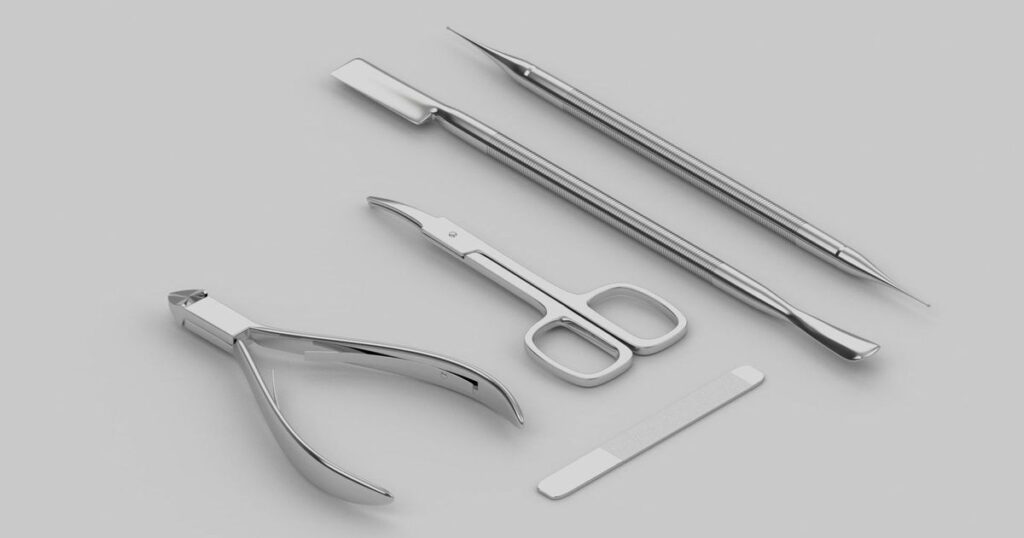
To safely and effectively use a cuticle pusher cutter, you need to approach the process with care and patience. The tool typically has two parts: one end is a flat or rounded pusher used to gently push back the cuticles, while the other end is a small cutter designed to trim away any excess skin.
Be sure to apply light pressure, as forcefully pushing the cuticle can cause it to tear or become damaged. This step creates a clean base for your nails and prepares any excess cuticles for trimming.
Once the cuticles are pushed back, use the cutter end to carefully trim away any excess skin. Never cut the live part of your cuticle, as this can lead to injury or infection. Trimming should be done conservatively—less is more when it comes to cuticle care. If you’re unsure, it’s better to leave some untrimmed cuticle rather than risk over-cutting.
Post-Care After Using a Cuticle Pusher Cutter
After you’ve completed pushing and trimming your cuticles, it’s essential to follow up with proper aftercare to keep your nails and skin healthy. The cuticle area can be sensitive after trimming, so applying a nourishing cuticle oil or moisturizer is a great way to hydrate and protect the skin. Massaging the oil into your nails and cuticles helps to prevent dryness and keeps the skin soft and supple.
Maintaining cleanliness is also key. Regular cleaning prevents the buildup of bacteria, which can lead to infections if introduced to the skin.
Incorporating regular cuticle care into your nail grooming routine will promote healthier nails and give your hands a polished, well-groomed appearance.
Choosing the Right Cuticle Pusher Cutter
Not all cuticle cutters are the same, and selecting the right tool can make a big difference in your at-home nail care. Look for a cuticle pusher cutter made from high-quality stainless steel, as this material is durable, rust-resistant, and easy to clean. Some tools come with different pusher shapes, such as a rounded edge or a flat edge, which you can choose based on your comfort and needs.
Ergonomics are also important. A well-designed cuticle pusher cutter should feel comfortable in your hand, with a good grip that allows for controlled, precise movements. Using a well-made tool not only makes the process easier but also helps to minimize the risk of accidentally damaging your cuticles or nails.
Conclusion
A cuticle pusher is a valuable tool for maintaining neat and healthy nails at home. By following best practices—preparing your nails, using the tool carefully, and following up with proper aftercare—you can achieve professional-quality results without visiting the salon. With a little patience and attention to detail, you can keep your cuticles neat, reduce the risk of hangnails, and promote overall nail health. Remember to choose a high-quality tool and use it gently to avoid injury, ensuring your at-home nail care routine is both safe and effective.
FAQs
How often should I use a cuticle pusher cutter?
Using a cuticle pusher cutter every two to three weeks is generally sufficient for most people. Overuse can irritate the cuticles, so it’s important to give them time to recover between sessions.
Can I use a cuticle pusher on dry cuticles?
It’s not recommended to use a cuticle cutter on dry cuticles. Always soften the cuticles first by soaking them in warm water or applying cuticle oil to prevent tearing or damage.
Is it safe to trim all of my cuticles?
No, only trim the excess cuticle tissue that has been pushed back. Avoid cutting the live part of the cuticle, as this can lead to pain, injury, or infection.
How should I clean my cuticle cutter?
After each use, clean your cuticle pusher cutter with soap and warm water, and dry it thoroughly. For extra protection against bacteria, you can also wipe it with rubbing alcohol.
Can I use a cuticle pusher cutter if I have sensitive skin?
Yes, but proceed with caution. If you have sensitive skin, be extra gentle when using the tool and always make sure to soften your cuticles beforehand to reduce irritation.