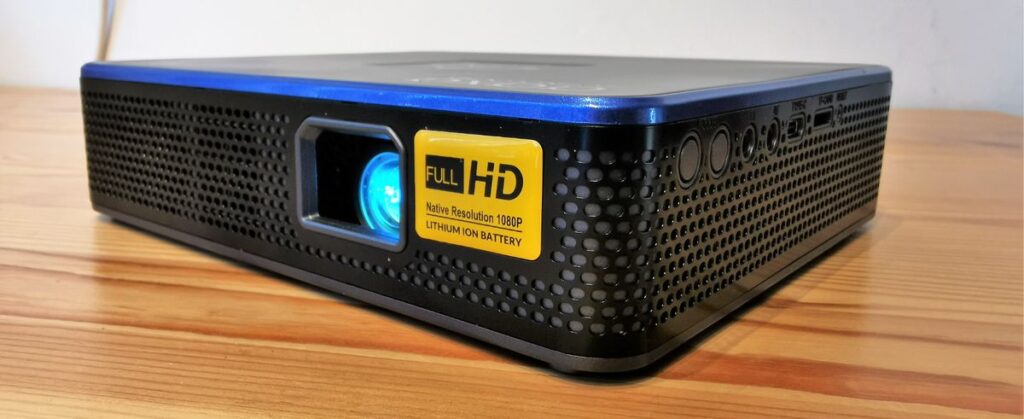
The Pico M7 has quickly become one of the most talked-about compact computing devices in the tech community. Whether you’re a hobbyist, a student, or someone dipping their toes into electronics for the first time, the Pico M7 offers power and flexibility in a tiny package. In this guide, we’ll walk you through the setup process, offer useful tips, and uncover some hidden tricks to help you get the most out of your Pico M7.
🚀 What is the Pico M7?
The Pico M7 is a microcontroller board inspired by the success of the Raspberry Pi Pico. It’s designed for embedded systems and Internet of Things (IoT) applications. Powered by the RP2040 chip (dual-core ARM Cortex M0+ processor), the M7 includes more GPIO options, better connectivity features, and in some versions, built-in WiFi and Bluetooth.
🔧 Initial Setup
Before diving into the advanced features, let’s make sure your Pico M7 is ready to go. Follow these steps:
✅ What You’ll Need:
- Pico M7 board
- USB to micro-USB or USB-C cable (depending on your model)
- A computer with Windows, macOS, or Linux
- Thonny IDE or VS Code (for programming)
🛠️ Step-by-Step Setup:
1. Download Thonny IDE
Thonny is a beginner-friendly Python IDE. It supports MicroPython and works perfectly with the Pico M7.
- Visit thonny.org
- Download and install the IDE for your operating system
2. Install MicroPython on the Pico M7
- Plug your Pico M7 into your computer while holding the BOOTSEL button
- A new storage device will appear on your computer
- Download the latest MicroPython
.uf2file for the Pico M7 from the official site or GitHub repository - Drag and drop the file into the mounted device
The Pico M7 will reboot and you’re ready to code in MicroPython!
3. Connect via Thonny
- Open Thonny
- Go to Tools > Options > Interpreter
- Select:
- MicroPython (Raspberry Pi Pico)
- Choose the correct port (e.g.,
COM3,/dev/ttyUSB0, etc.)
- Click OK
🧠 Tips for First-Time Users
Getting started is fun, but knowing a few tips can make your journey smoother and more productive.
1. Label Your Wires
As you prototype with sensors, LEDs, and buttons, things can get messy. Use color-coded wires or labels to keep track of connections.
2. Use GPIO Charts
The Pico M7 has up to 26 GPIO pins, but knowing which ones support PWM, I2C, SPI, or UART is crucial. Print a GPIO reference chart or keep a digital copy handy.
3. Practice with Blink
Before moving to complex projects, test your board by blinking an LED.
from machine import Pin
from time import sleep

led = Pin(25, Pin.OUT)  # Built-in LED
while True:
    led.toggle()
    sleep(0.5)
4. Save Scripts to the Device
You can write and save your scripts directly to the Pico M7. This allows the script to run even when it’s powered by an external battery or USB charger.
🔍 Hidden Tricks You Probably Didn’t Know
Here’s where it gets fun. These are lesser-known but powerful tricks to enhance your Pico M7 experience.
🔌 1. Use Your Pico M7 as a USB Keyboard
With CircuitPython or specialized firmware, you can program your Pico M7 to act as a USB HID device. This means it can send keystrokes to your computer!
import usb_hid
from adafruit_hid.keyboard import Keyboard
from adafruit_hid.keycode import Keycode

kbd = Keyboard(usb_hid.devices)
kbd.send(Keycode.A)
Great for creating custom macro keyboards or productivity tools!
📶 2. Enable Wireless Communication (if available)
Some versions of the Pico M7 come with WiFi and Bluetooth modules. Using libraries like urequests or socket, you can:
- Send data to the cloud
- Create web servers
- Control devices via smartphone apps
Example to fetch a website:
import network
import urequests

sta_if = network.WLAN(network.STA_IF)
sta_if.active(True)
sta_if.connect('your-SSID', 'your-password')

while not sta_if.isconnected():
    pass

res = urequests.get("http://example.com")
print(res.text)
🔄 3. Run Code on Boot
To make your project work right after power-up:
- Save your script as
main.pyorboot.pyon the device. - Reset the board, and it will auto-run your script.
🔋 4. Low-Power Mode
Want to extend battery life? You can reduce CPU frequency or use machine.deepsleep() to put the Pico M7 into sleep mode.
import machine
machine.deepsleep(10000)  # Sleep for 10 seconds
🔁 5. Use the REPL Like a Pro
REPL (Read-Eval-Print Loop) is a live coding shell where you can interact with the Pico M7 in real-time. In Thonny, press Ctrl+C to interrupt a script and Ctrl+D to restart.
You can test snippets quickly without rewriting your entire script.
🧪 Fun Projects to Try
Here are a few beginner-friendly projects to build your confidence:
- Digital Thermometer using a DHT11 sensor
- Motion-Activated Light with a PIR sensor
- Mini Weather Station with WiFi reporting
- Simple Robot Car using motors and IR sensors
- WiFi Doorbell Notifier (sends notification to your phone)
Each of these projects introduces you to sensors, power management, and communication protocols step by step.
🛡️ Common Pitfalls to Avoid
Even pros mess up sometimes. Avoid these beginner traps:
- Power Issues: Always check your power supply, especially when using motors or WiFi.
- Incorrect Pinouts: Double-check your GPIO pin assignments.
- Syntax Errors: Python is sensitive to indentation. Keep your code clean and aligned.
- Overloading the Board: Don’t power high-current devices directly from the Pico M7 pins. Use transistors or MOSFETs when needed.
📚 Final Thoughts
The Pico M7 is a compact beast packed with potential. From automation to education, it opens doors to countless creative possibilities. With the right setup, smart tips, and hidden tricks under your belt, you’re more than ready to begin your journey into the world of microcontrollers.
Whether you’re coding a blinking LED today or a smart home device tomorrow, remember this: every big project starts with a single line of code. So power up your Pico M7 and start tinkering — the future is in your hands.
For More : https://theguestblogs.com/


